Agenda Builder


BoardCloud offers a variety of functions to help build and manage a perfect agenda with:
- Adding Sections and SubSections
- Uploading documents
- Creating Documents
- Adding Forms
- Adding Votes
- Cloning the Agenda Structure to be used in a different meeting
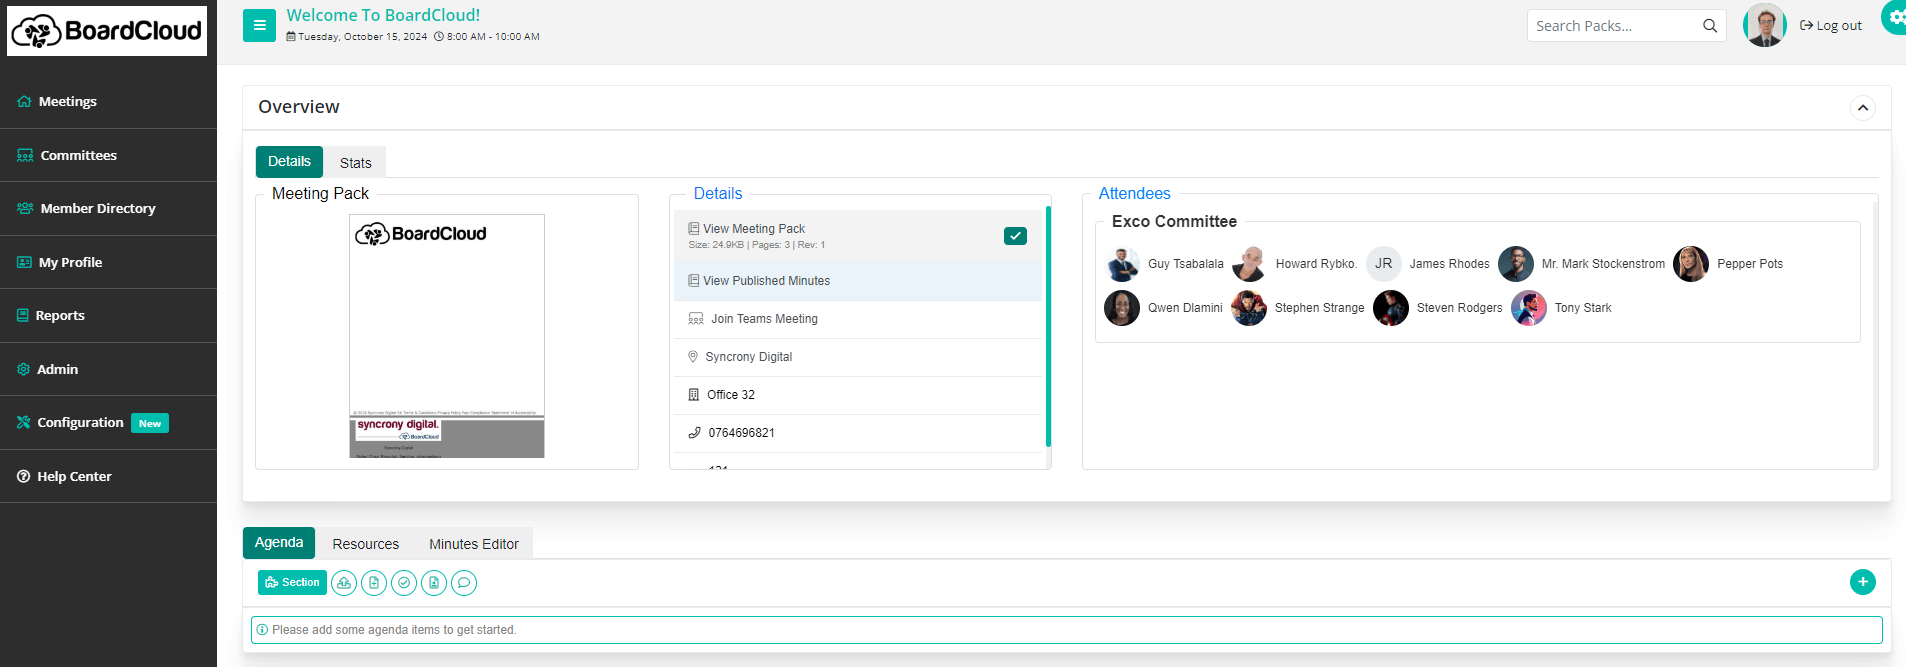
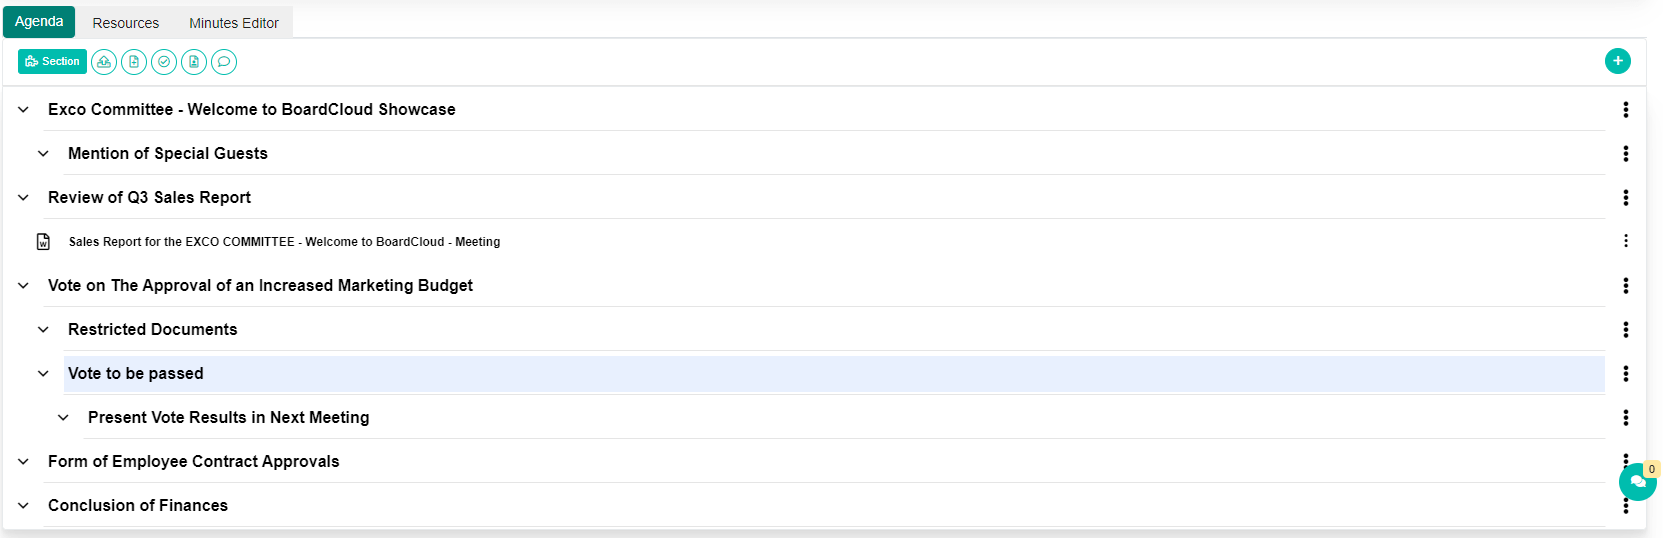
Agenda Functionality:
- The sections outlined in red under the agenda section will give you the ability to add sections, upload documents and also make use of the Task, Vote and Form functionality.

- On the right hand side a menu will expand which will have the same functionality as the buttons on the left hand side.

Adding Agenda Sections and Agenda Sub-sections
Agenda Sections

- Click the Section or the Add Section button located in the outlined red boxes in the image above and an agenda section will be added to the Agenda.

- Clicking on the Agenda Section will allow you to rename the Section to any appropriate section name of your choice which can be seen below.

Agenda Sub-Sections
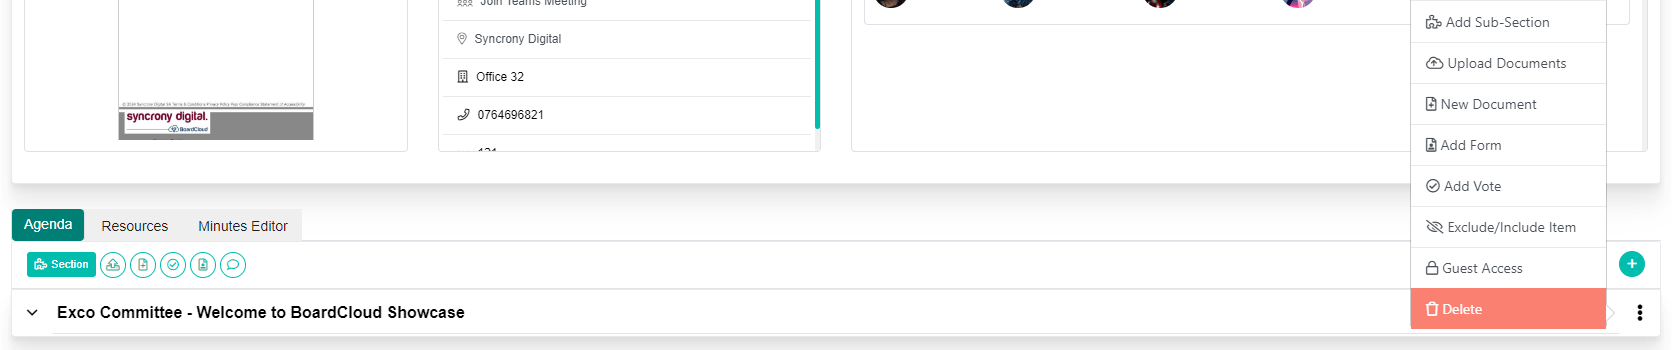
- Click on the 3 dots located at the end of an Agenda Sub-Section, A menu similar to the previous menu will pop up allowing you to click the Add Sub-Section button which will add an Agenda Sub-Section underneath the Section you have performed the function on.

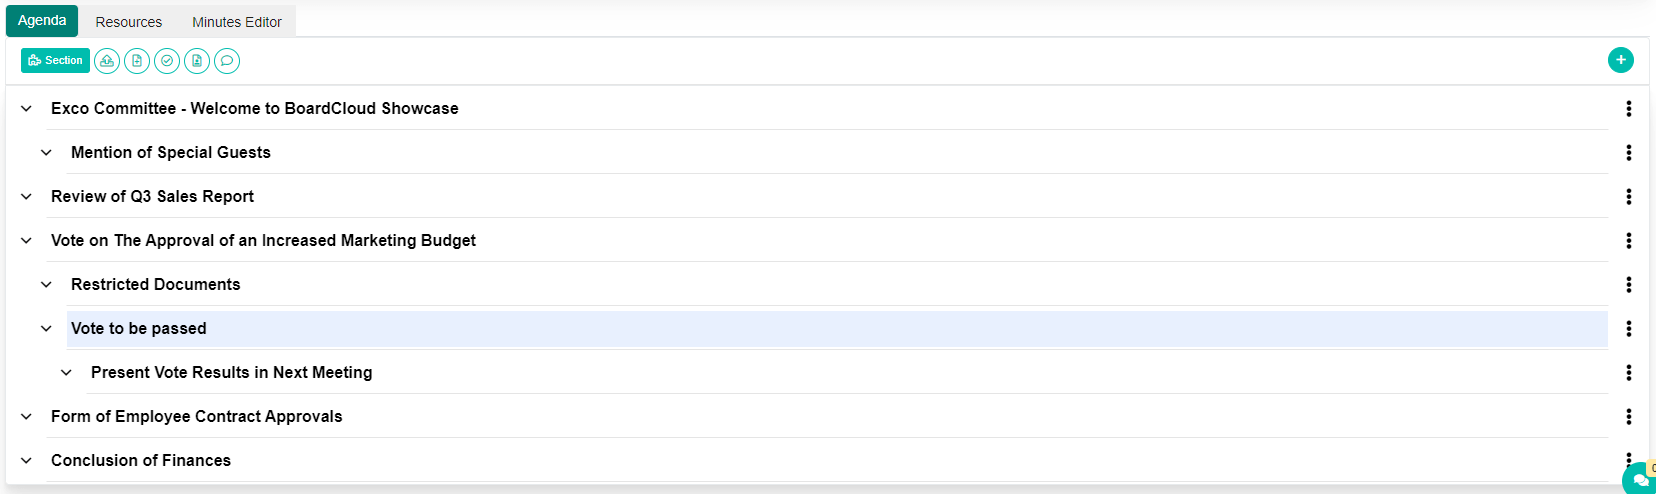
- The Agenda Sub-Section can be renamed to any Appropriate Sub-Section Name of your choice.

- Completed Agenda
Uploading Documents
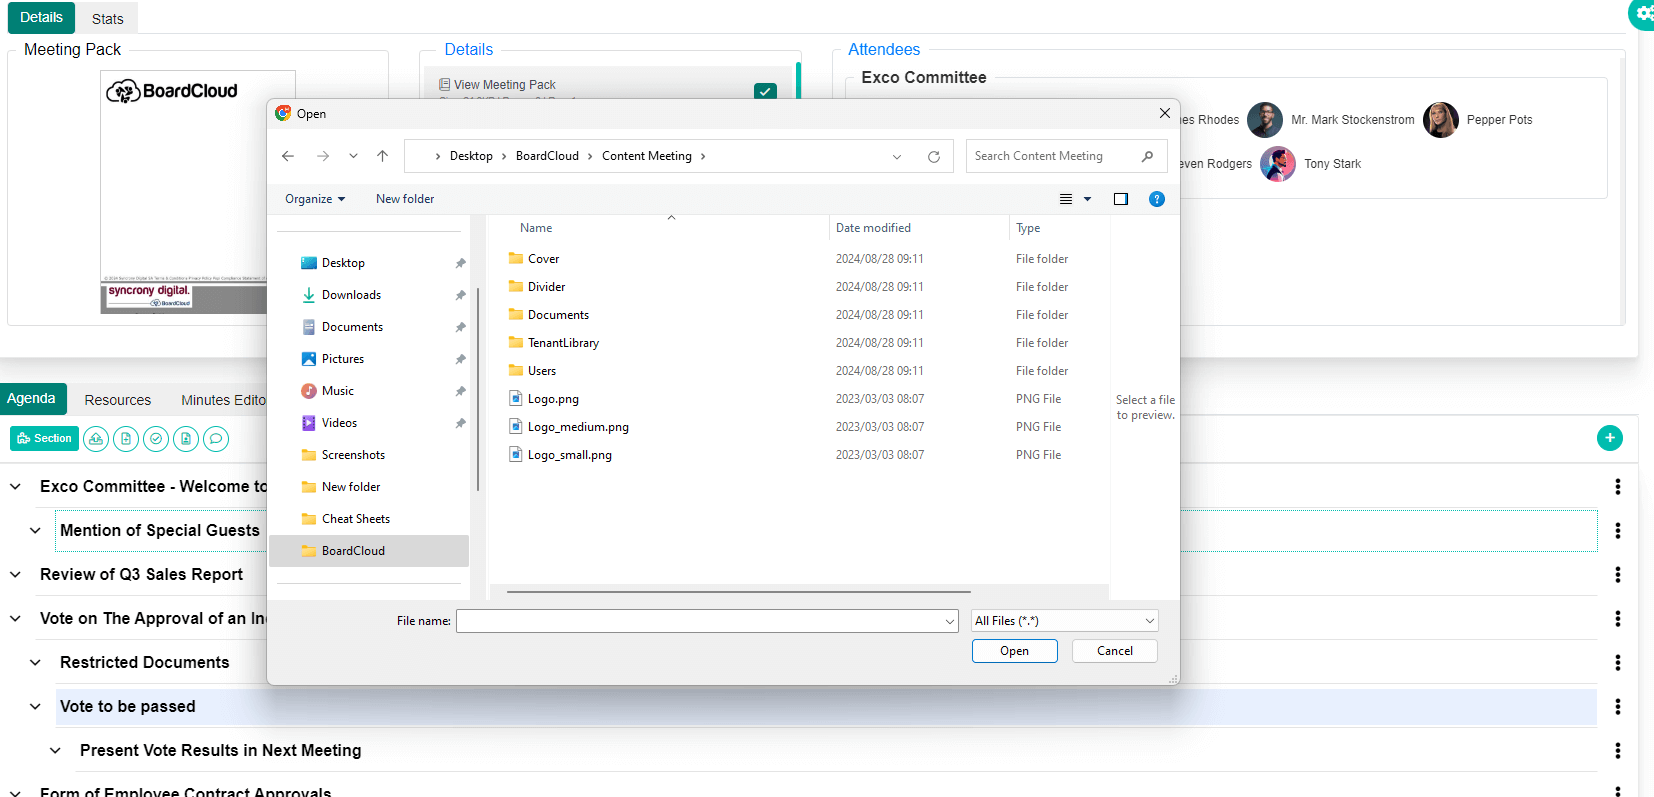
- Uploading Documents can be done by clicking the Upload Documents button found at the top of the Agenda builder or in the menu by clicking the 3 Dots.
- After clicking specified buttons, the file explorer will pop up allowing you to upload a single or multiple documents at a time.
- Once documents have been uploaded you can change the name of them in the same manner as changing a section or sub-section title.
Creating Documents
- A document can be created by clicking the New Document button.
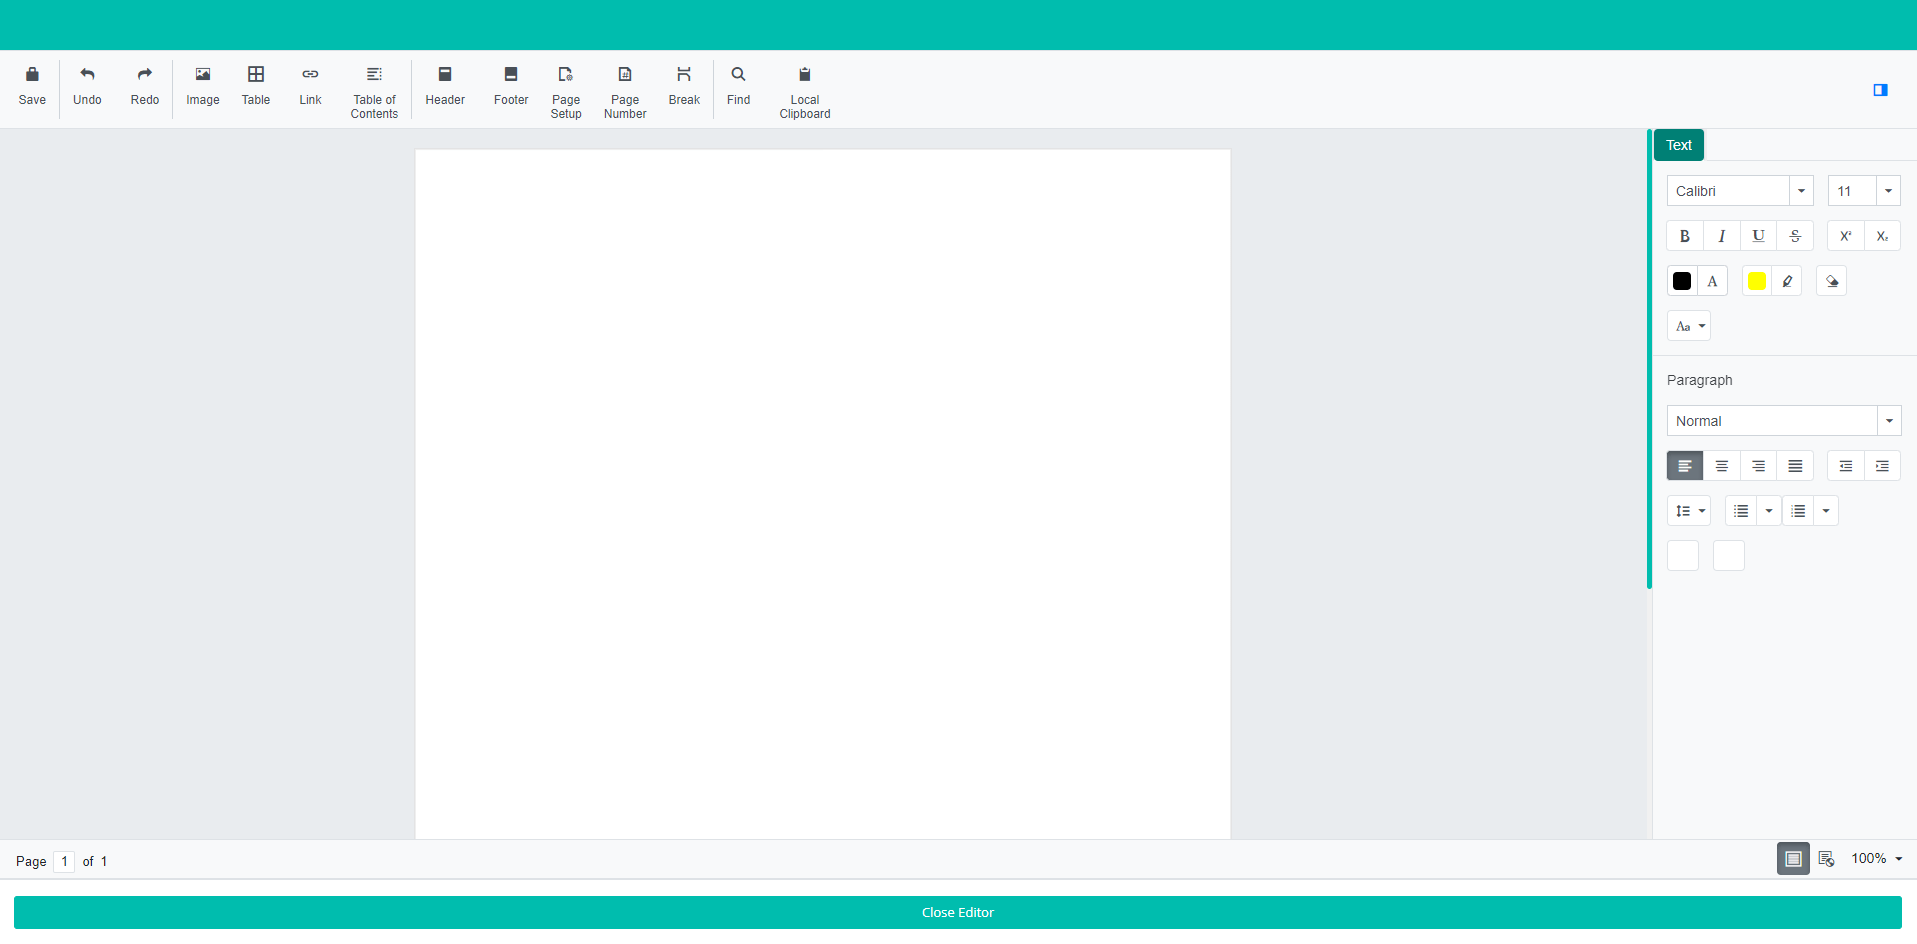
- Once clicked a document editor will open up allowing you to type any information you need to, you may also come back to this document later and change any of the contents found in the document.
- After doing so, you may click the Save button located in the top left corner of the document editor then click the Close Viewer button at the bottom of the viewer.

- The document can then be renamed in the same way as sections of the Agenda.

Creating a Vote
- A vote can be created by clicking the Add Vote button.
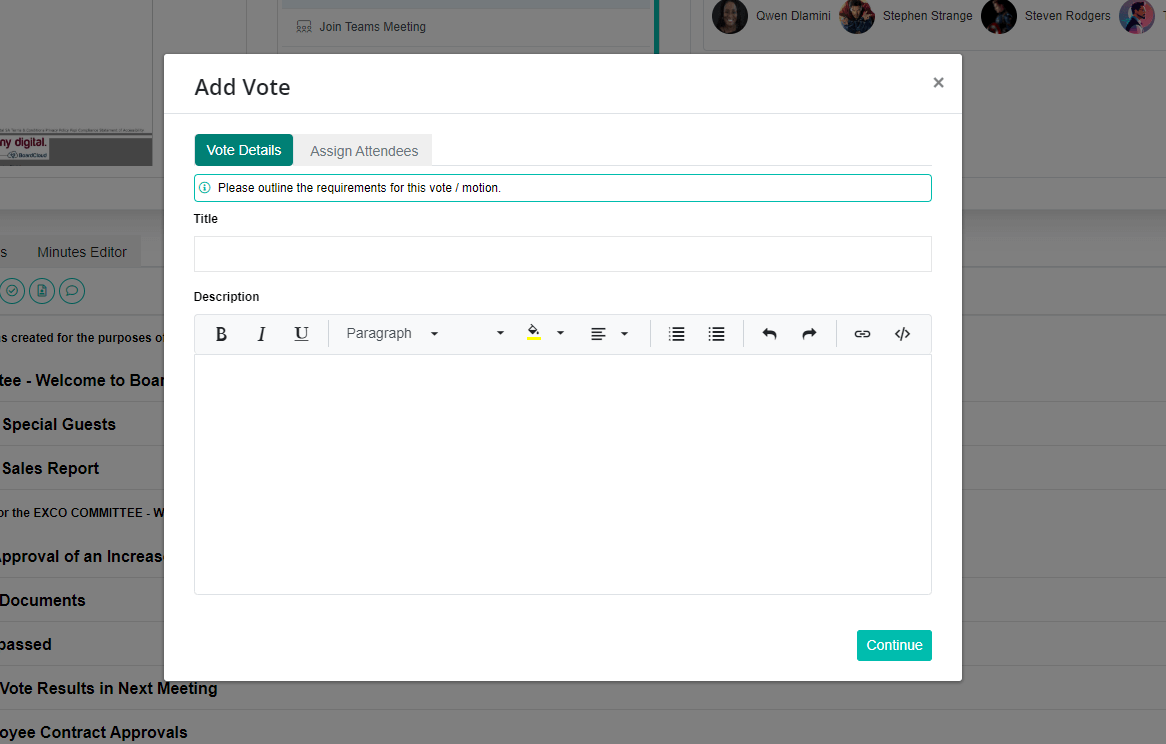
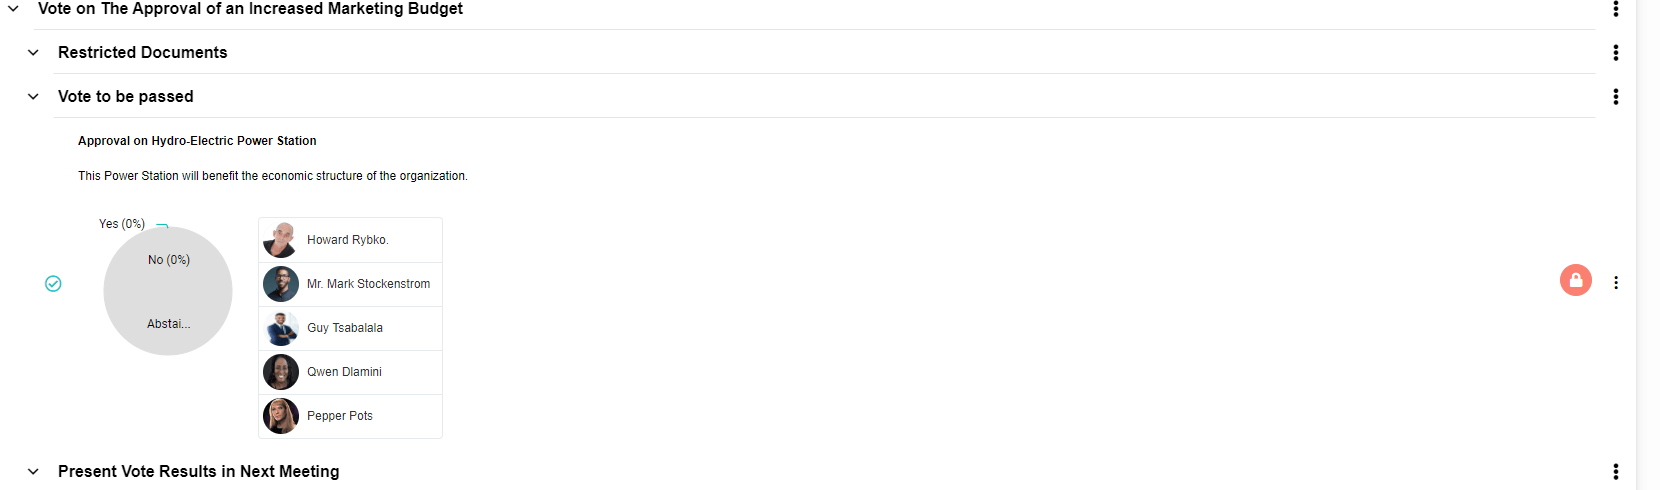
- Once the Add Vote View has appeared you will be able to fill in the first part of the vote component.
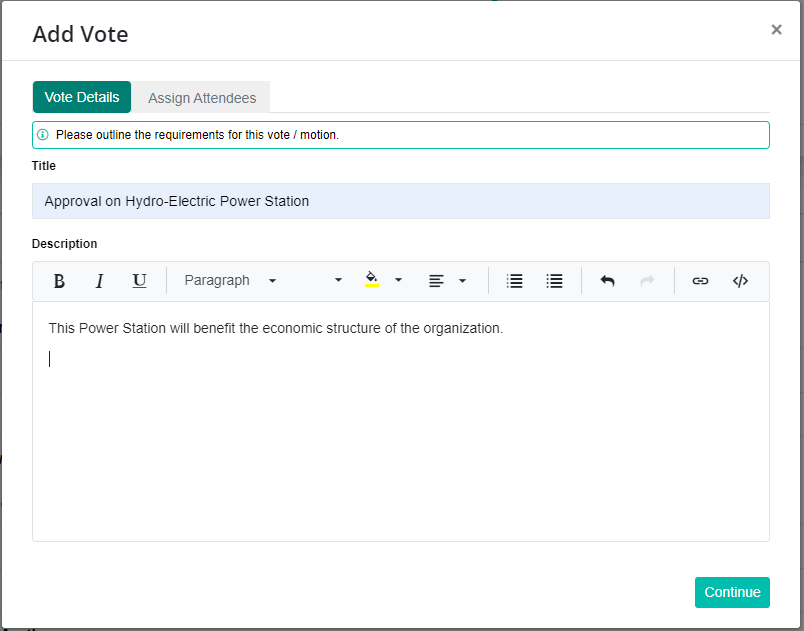
- After filling in the details, you can click the Continue button to navigate to the next view.
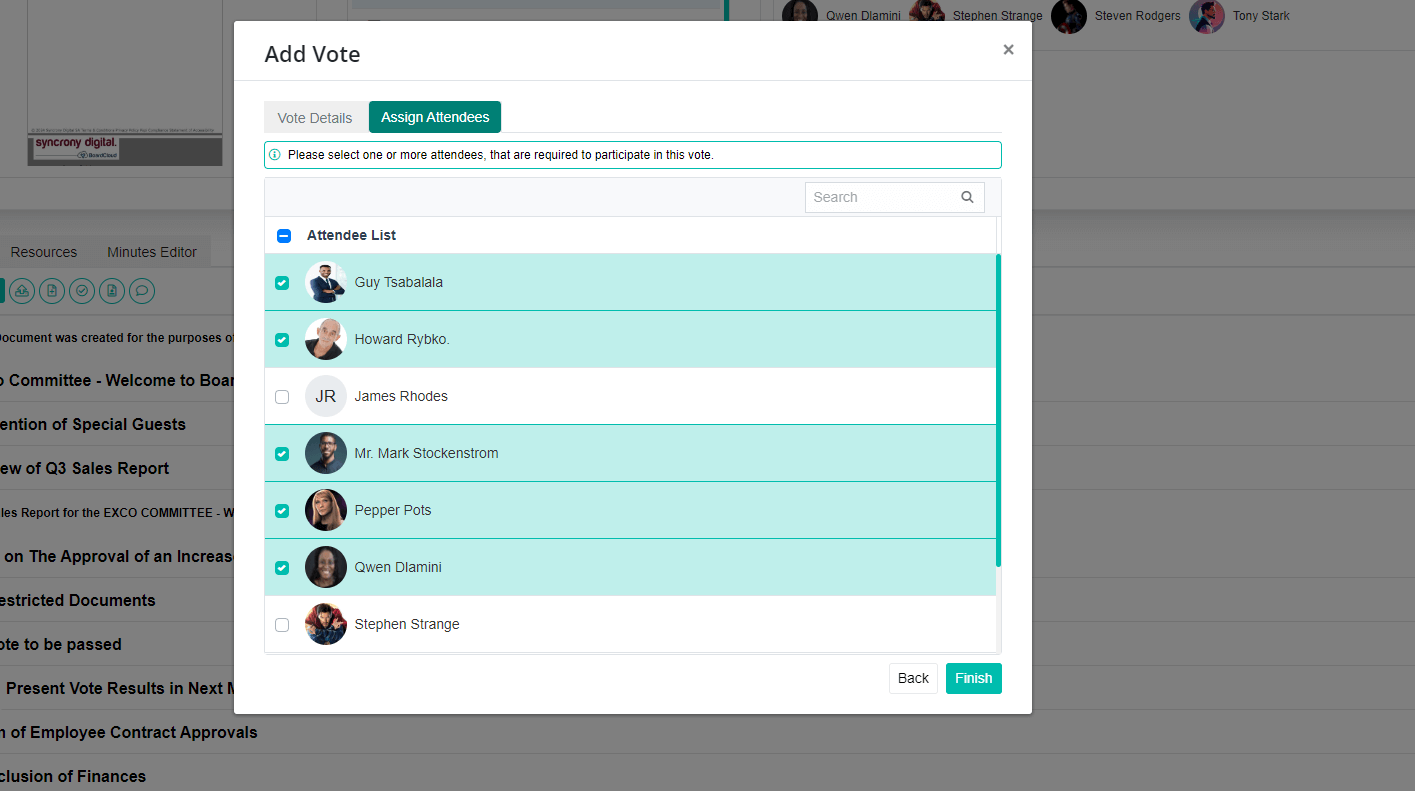
- On this view you will be able to assign members of the committee to vote on the matter at hand for the meeting. Once the members have been selected, you can click on the Finish button to add the vote item to the Agenda.
Adding a Form
- A form can be added to the agenda using the Add Form button.
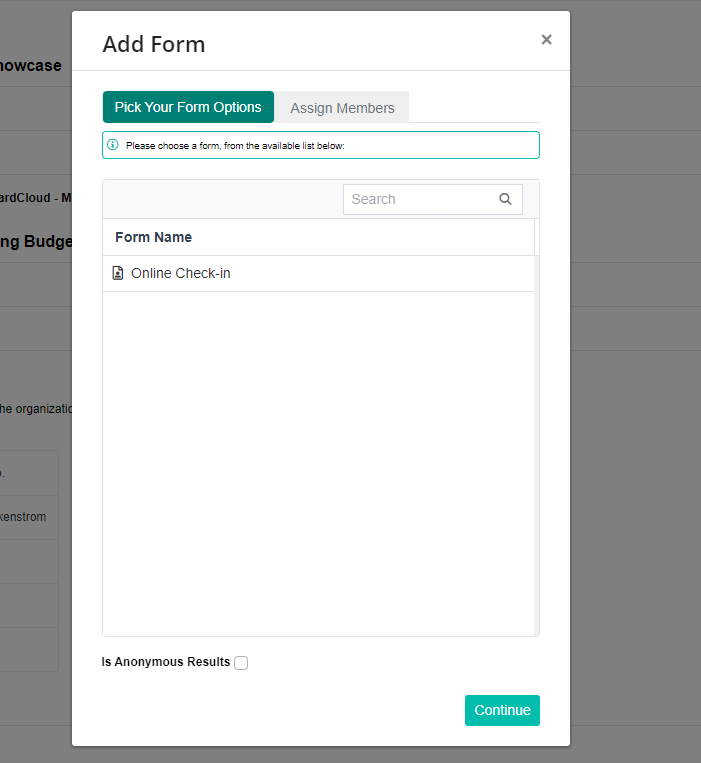
- Once clicked you will be able to select the form you want to add to the meeting.
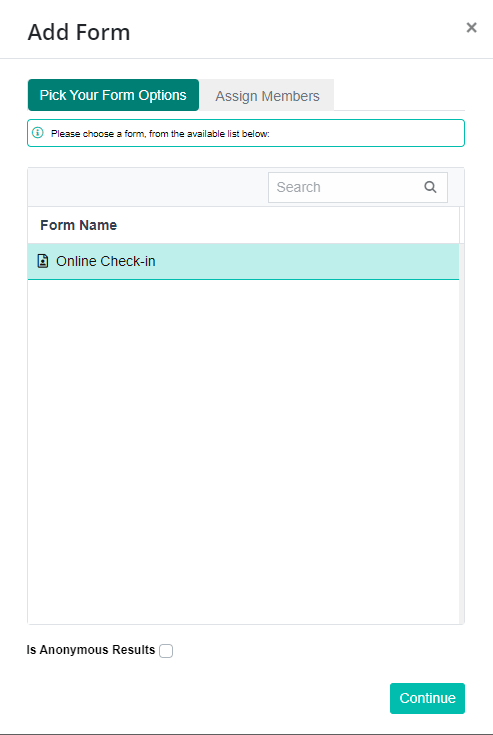
- By clicking the Continue button, Members can be selected who need to fill in the form.
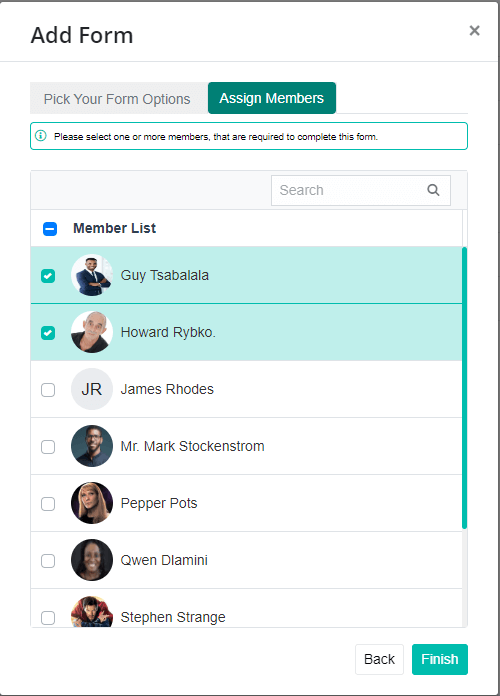
- After clicking the Finish button the form will be added to the agenda of the meeting.

Cloning the Agenda Structure
- The Agenda Structure of a meeting can be cloned by clicking on the Clone Agenda button.
- Click the Clone Agenda Sections button to clone the agenda structure of the meeting.
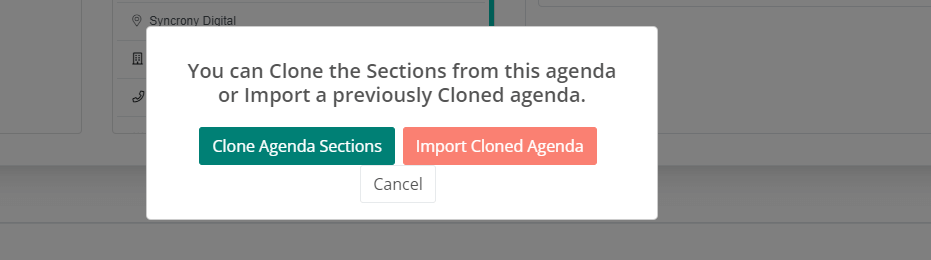
Importing a Cloned Agenda Structure
- The Agenda Structure of a meeting can be imported by clicking on the Clone Agenda button.
- The Agenda Structure of the meeting can be imported by clicking on the Import Cloned Agenda button.